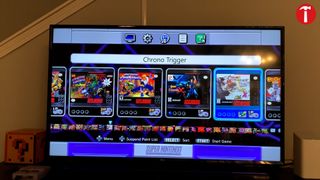
From Starfox to Super Mario World, the Super Nintendo console (SNES) had some of the most memorable games of all-time, and people still want to play them today. Though Nintendo stopped producing its Super Nintendo mini console in 2019, you can still buy the SNES Classic Edition today...if you’re willing to pay more than its original MSRP of $79. Unfortunately, unless you know how to hack it, you’re still going to be limited to a pretty small collection of games.
When I purchased my very first SNES Classic, I was excited to play the 20 pre-loaded games within the library, which includes classics like Secret of Mana and Donkey Kong Country. Nintendo doesn’t provide an official way to add more titles, but there’s an easy SNES Classic hack that will let you install more games, provided you have the ROMs for them. Note that downloading ROMs even for games that you own or ripping them yourself is a legal gray area at best, so we won’t be getting into that here.
However, provided you have the content available, here’s a simple way to hack your SNES Classic to add more games to it. And if you’ve got one of the other mini consoles out there, you can rest easy knowing that hacking a NES Classic or Sega Genesis Mini console should be nearly identical.
- Micro USB cable – Needed to connect computer to retro mini
- A PC -- to download the software
How to Hack a SNES Console
1. Download Hakchi 2 CE and install it. Can we explain a tiny bit about what Hakchi is here, and who made it?

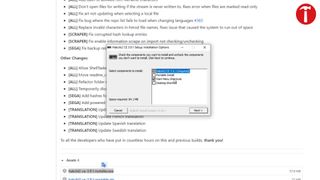
2. Launch Hakchi. You should see the SNES Classic library on the left side of the program’s screen. These are the games that were originally added to the mini console’s library by Nintendo.
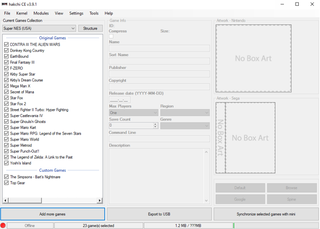
Note: If you plug in the SNES Classic before launching Hakchi, the program will not properly detect your mini. To avoid this, plug in your mini AFTER opening the Hakchi program.
4. Select Install and Repair from the Kernel menu in the top left corner of the screen.
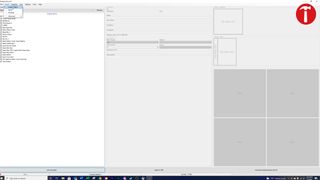
5. Click Yes when asked if you want to flash.
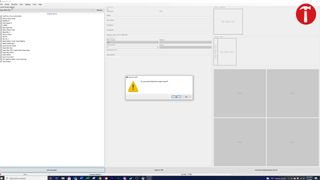
6. Follow the screen prompts. Wait until the rebooting process completes before moving on to the next step.
Please Note: If for whatever reason your install fails or gets corrupted, you can factory reset your mini by selecting Kernel < Advanced < Factory Reset.
7. Click the “Add more games” button in Hackchi and select the ROMs you want to add from your PC’s storage drive. You can do one at a time or hit CTRL + A to select all files in a folder.
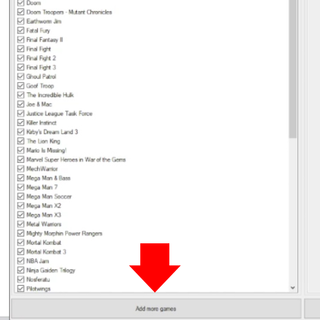
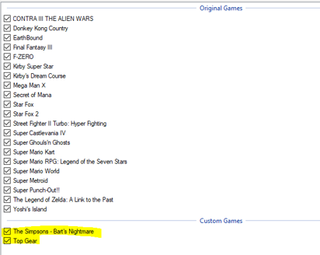
After you import your games into Hakchi, all the games will show up on the left-hand side under “New Apps” or “Custom Games”.
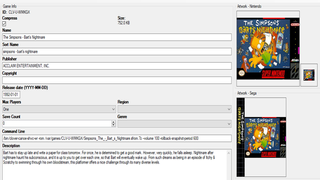
8. Click each game title to view or modify its box art, description, and other game information. You can change any of this information to whatever you want and your retro mini library screen will reflect that. Don’t like box art? Change it! Want to change the game title? Go for it! Customization is optional and fun, but not required.
9. Select the game(s) you want to import.
10. Click the “Synchronized Selected Game With Mini” button.
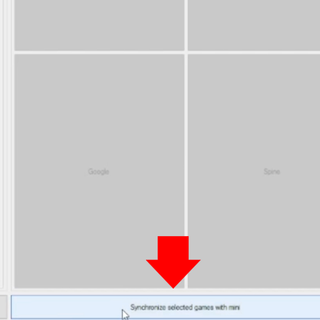
A new prompt will appear.
11. Click Yes when asked “Have you already flashed the custom kernel on your mini?” We already completed this step in “Linking Hakchi to Retro Mini”, so the answer is “yes”.
If you see a prompt showing “done,” you have successfully imported your games onto your retro mini! Your imported games should appear on the left side under the category “custom games” within Hakchi.
Now here’s the fun part! Plug in your retro mini to any TV or monitor of your choosing and find your downloaded games under the “Custom games” or “New Apps” folders. Load up each game and see if it works properly. If it works, play ‘til your heart’s content!
Note: The SNES Classic has 250MB storage space. Each game you add will need between about 0.2 - 6MB, so keep in mind how many games you are adding to the system and how much free storage you have.
